9 heads a guide to drawing fashion

9 heads a guide to drawing fashion
The 9-head croquis is a foundational technique in fashion illustration, dramatically elongating the figure to showcase designs effectively.
This method, taught in fashion colleges, provides a stylized canvas for garment display, prioritizing aesthetic presentation over realistic anatomy.
Historically, this approach originated from workshops and templates, offering artists a starting point for practicing clothing design on exaggerated forms.
While traditionally used, modern illustrators are encouraged to adapt these proportions, embracing diverse body types and evolving beyond the standard model.
What is a 9-Head Croquis?
A 9-head croquis represents a stylized figure in fashion illustration where the total height is equivalent to nine times the height of the head. This isn’t a realistic human proportion; instead, it’s an exaggeration used to elegantly display clothing designs. The elongated form allows for a dramatic scale, emphasizing the lines and flow of garments.
Traditionally, fashion colleges teach this method as a core skill, providing a standardized base for sketching. It’s essentially a template – a “grown-up paper doll,” as some describe it – that allows designers to visualize how clothes will drape and move on a body. The croquis isn’t meant to be anatomically accurate but rather a tool for visual communication.
Different poses can be drawn to better showcase specific garments, like wider leg stances to highlight skirt slits. Croquis can also vary in size, ranging from 8-head to 12-head proportions, depending on the desired aesthetic and design needs;
Why Use the 9-Head Proportion?
The 9-head proportion is favored in fashion illustration primarily for its aesthetic qualities and its ability to showcase clothing effectively. The elongation creates a visually striking figure, allowing designers to emphasize the lines, shapes, and details of their designs in a dramatic way. It’s about presentation, not realism.
This method provides a consistent and standardized format for sketching, making it easier to compare different designs and visualize how they will look on a body. It’s a technique deeply rooted in fashion education, offering a common language for designers and illustrators.
However, it’s crucial to remember that the 9-head figure is a starting point. Modern fashion illustration increasingly embraces inclusivity and diversity, encouraging artists to adapt the croquis to represent a wider range of body types and proportions, moving beyond the traditional standard.
Understanding Basic Proportions
Fashion croquis utilize disproportionate measurements, particularly elongated legs, to better display garments. The head serves as the fundamental unit for establishing these exaggerated, yet consistent, proportions.
The Head as a Unit of Measurement
In the 9-head fashion figure, the head isn’t merely a facial feature; it’s the foundational building block for establishing the entire body’s proportions. This standardized unit allows for consistent scaling and a visually striking elongation. Essentially, the entire figure is constructed by stacking nine head-height segments on top of each other.
This method simplifies the process of creating a stylized figure, providing a clear framework for artists. Instead of relying on complex anatomical measurements, the artist repeatedly uses the head’s height as a reference point. For example, the torso occupies roughly two head heights, while the legs span four.
Using the head as a unit ensures that even with exaggerated proportions, the figure maintains a sense of balance and visual harmony. It’s a technique that prioritizes the display of clothing, creating a dramatic and elegant silhouette, rather than strict anatomical accuracy. This approach is a cornerstone of fashion illustration.
Breaking Down the 9 Heads
Understanding the allocation of the nine head segments is crucial for accurately constructing the fashion croquis. The first head encompasses the skull and face, establishing the figure’s initial point. Heads two and three define the neck and torso, typically occupying two full head heights. The waistline generally falls around the seventh head mark, taking up approximately one head’s worth of space.
Following the waist, heads four and five form the hips, often spanning around 1.5 heads. The legs then dominate the remaining space, consuming heads six, seven, eight, and nine – a total of four head heights. Finally, the feet are represented by roughly half a head at the very base.
These proportions are deliberately exaggerated, prioritizing the display of clothing over realistic anatomy. Artists can adjust these segments slightly to create variations, but maintaining the overall 9-head ratio is key to the classic fashion figure aesthetic.
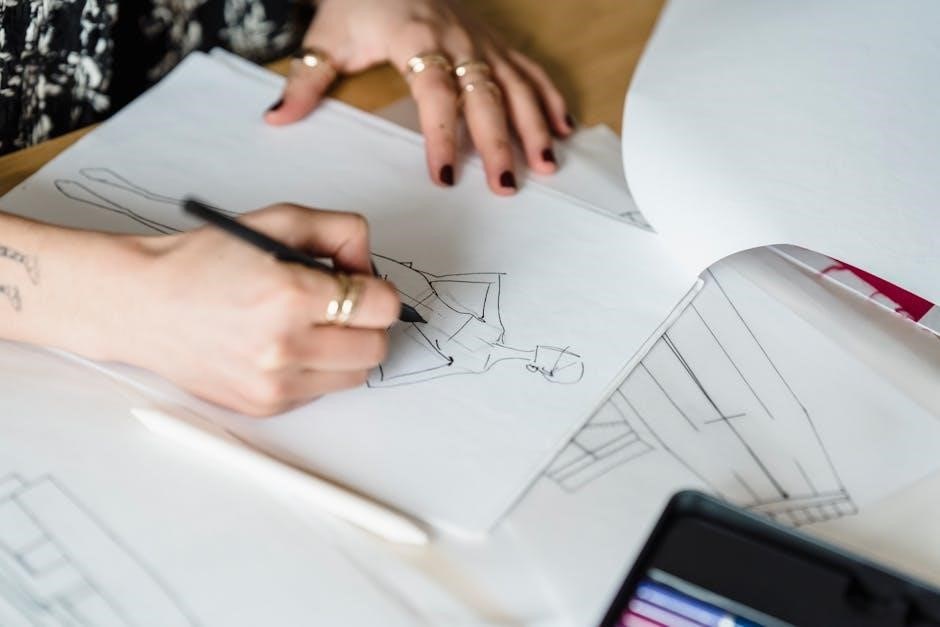
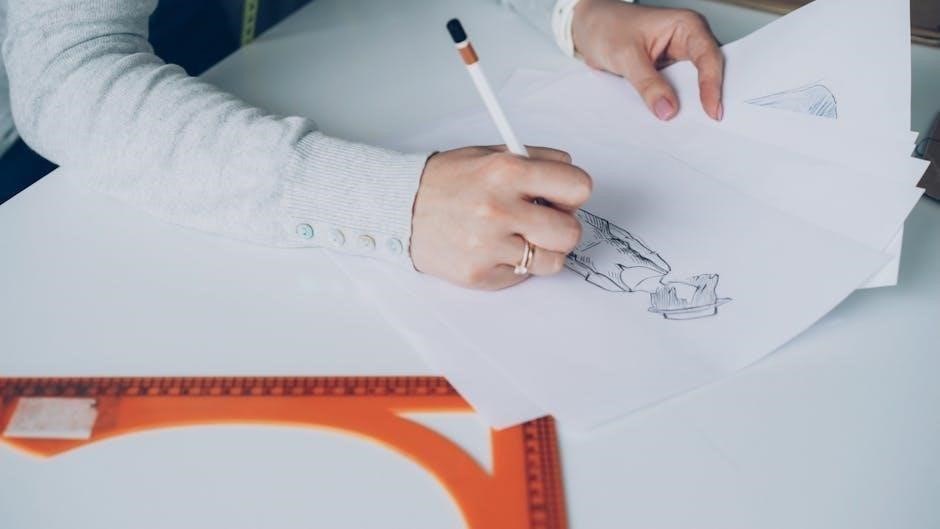
Step-by-Step Guide to Drawing the 9-Head Figure
Begin with a light sketch, establishing the head and neck as your foundational unit. Then, sequentially build down the body, using the head as a consistent measurement.
Step 1: Establishing the Head and Neck
Begin with a light, oval shape to represent the head, ensuring it’s proportionate to the overall figure you intend to create; This initial head establishes the fundamental unit of measurement for the entire 9-head croquis.
Below the head, delicately sketch the neck; it’s typically about one-half to one head in length, though slight variations are acceptable depending on the desired pose and style.
Focus on a gentle curve for the neck, avoiding harsh angles. Remember, this is a foundational step, so keep your lines light and easily erasable.
Consider the direction of the head – is it facing forward, turned to the side, or tilted? This initial angle will influence the entire figure’s posture.
Don’t add details at this stage; concentrate solely on accurately establishing the head and neck as the starting point for your fashion illustration.
Step 2: Drawing the Torso (2 Heads)
From the base of the neck, measure down two head lengths to define the torso’s extent. This section, encompassing the chest and upper back, forms a crucial part of the elongated figure.
Sketch a simplified torso shape, keeping in mind the overall fluidity of the fashion croquis. Avoid overly detailed muscular anatomy; focus on a streamlined form suitable for draping garments.
The torso doesn’t need to be a perfect rectangle – a slight narrowing at the waist can be indicated, but maintain the two-head proportion.
Consider the pose; a slight curve or twist in the torso will add dynamism to the figure. Lightly indicate shoulder placement at this stage, but don’t define them fully yet.
Remember, the goal is to create a proportional base for showcasing clothing, so prioritize a clean, elongated silhouette over anatomical accuracy.
Step 3: Defining the Waist (Approximately 1 Head)
Measuring down from the bottom of the torso, allocate roughly one head length to define the waistline. This area is crucial for illustrating how garments cinch or flow around the body.
The waist in a 9-head figure is typically very narrow, emphasizing the elongated silhouette. Sketch a gentle inward curve to create this defined waist, but avoid making it excessively small or unrealistic.
Remember that the croquis is a stylized representation, not a precise anatomical study. Focus on creating a visually appealing shape that complements the overall proportions.
Consider the intended pose; a slight twist or angle in the waist can add dynamism and suggest movement. Lightly indicate the hip placement extending from the waistline.
This step establishes the transition between the upper and lower body, setting the stage for defining the hips and legs.
Step 4: Creating the Hips (Approximately 1.5 Heads)
From the waistline, measure down approximately one and a half head lengths to begin shaping the hips. This section contributes to the overall curve of the figure and is vital for displaying how garments drape and fit around the lower body.
The hips in a 9-head croquis are generally narrower than realistic proportions, maintaining the elongated aesthetic. Sketch a subtle outward curve, creating a gentle flare that flows from the waist.
Consider the garment you intend to illustrate; wider hip curves can better showcase skirts or pants with volume. Conversely, a straighter hip line suits more fitted designs.
Lightly indicate the inner thigh line, connecting the hips to where the legs will begin. This establishes the foundation for the leg structure and ensures a smooth transition.
Remember to maintain the overall balance and proportion of the figure as you define the hips, setting the stage for the legs.
Step 5: Forming the Legs (4 Heads)
Extending from the hips, the legs occupy a significant four head lengths in the 9-head proportion, contributing to the figure’s dramatic elongation. Begin by sketching long, slender lines to establish the overall length and direction of each leg.
Maintain a slight inward curve to mimic the natural shape of the inner thigh. Avoid drawing the legs perfectly straight; a subtle bend at the knees adds a touch of realism and allows for more dynamic poses.
Consider the pose you’re aiming for – wider leg placement can showcase skirts or pants with more flare, while closer positioning suits fitted styles.
Lightly indicate the calf muscle and ankle area, but avoid excessive detail at this stage. Focus on establishing the overall form and proportion of the legs.
Remember, the legs are a key element in displaying garments, so ensure they are proportionally accurate and visually appealing.
Step 6: Adding Feet (Approximately 0.5 Head)
Completing the figure, the feet occupy roughly half a head’s length in the 9-head proportion, representing a smaller, yet important, detail. Begin by sketching a simplified foot shape at the end of each leg, keeping the proportions delicate and elongated.
Avoid overly detailed renderings of the toes or arches; the focus remains on showcasing the overall silhouette and the garments being designed. A slightly pointed or almond-shaped foot is common in fashion illustration.
Consider the angle and position of the feet to enhance the pose. Turned-in or turned-out feet can add visual interest and convey movement.
Lightly indicate the instep and heel, but maintain a streamlined appearance. Remember, the feet serve as a foundation for the entire figure, so ensure they are balanced and proportionally correct.
Subtle details, like a slight arch or a delicate ankle, can elevate the overall aesthetic.

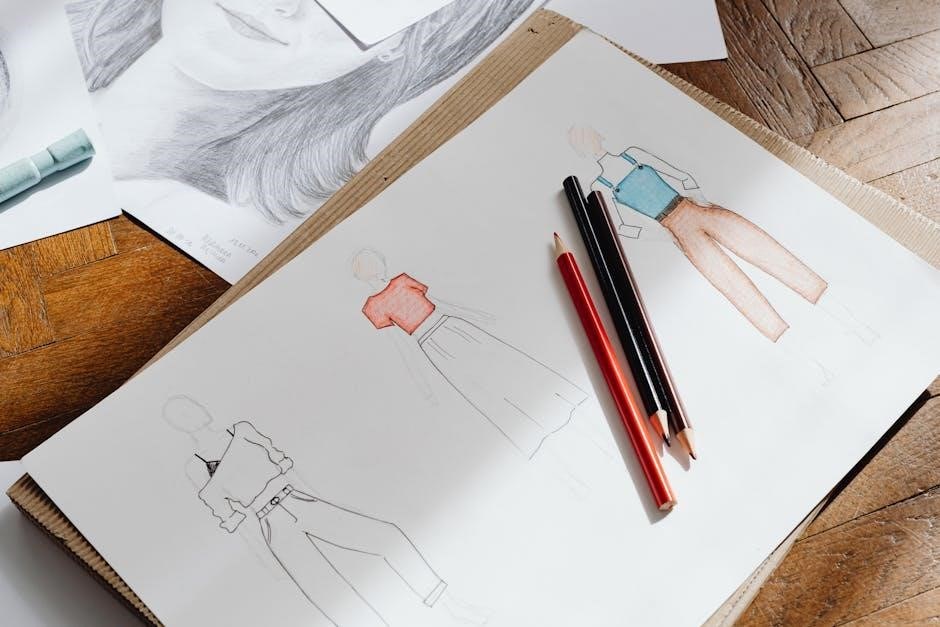
Adding Details and Poses
Refining the croquis involves adding shoulders, arms, and dynamic poses to breathe life into the figure. Experiment with angles and curves to showcase garments effectively.
Poses should complement the clothing, highlighting its design and flow, while details enhance the overall illustration’s impact and realism.
Drawing Shoulders and Arms
Shoulders, in a 9-head fashion figure, are typically represented as relatively narrow, contributing to the overall elongated and elegant silhouette. Begin by lightly sketching the shoulder line, connecting the neck to the arm. Remember that the shoulder width is generally less than two head widths.
Arms are often drawn with a gentle curve, avoiding harsh angles. The upper arm (from shoulder to elbow) can be approximately one head length, while the forearm (elbow to wrist) is slightly shorter, around 0.75 heads. Hands are often simplified or omitted entirely, as the focus remains on the clothing.
Consider the pose when drawing arms; a bent arm will appear shorter than a straight one. Pay attention to the flow of the lines, ensuring they complement the garment’s design. Don’t be afraid to experiment with different arm positions to create dynamic and visually interesting illustrations. Lightly sketch and refine, building up the form gradually.
Remember, these are guidelines, and artistic license is encouraged.
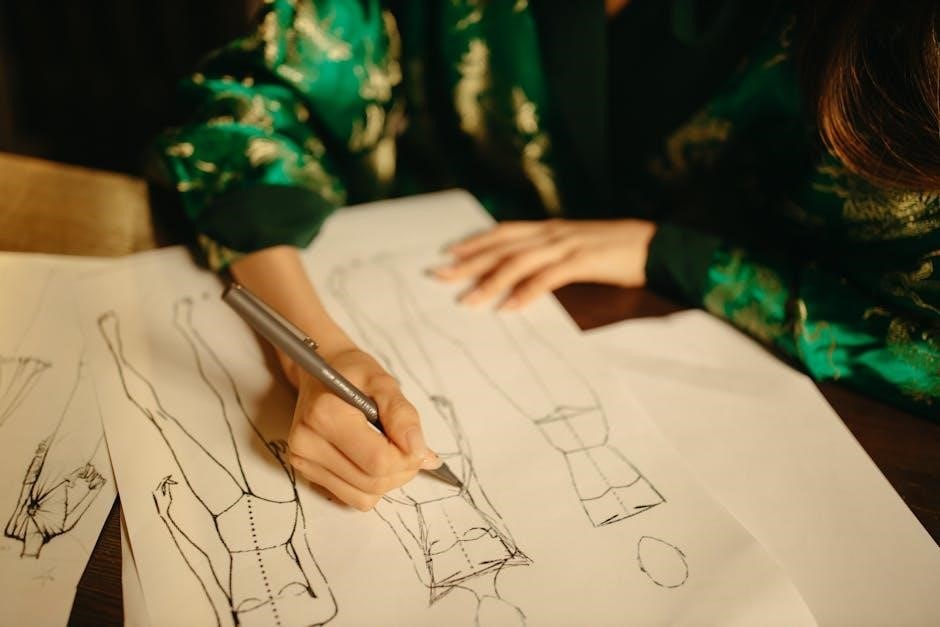
Creating Dynamic Poses
Dynamic poses breathe life into your fashion illustrations, showcasing garments in motion and adding visual interest. Start with a simple line of action – a curved line representing the figure’s primary movement. This establishes the pose’s energy and flow.
Slightly tilting the hips or shoulders can instantly create a more engaging pose. Consider contrapposto, a classic artistic technique where the figure’s weight is shifted to one leg, creating a natural S-curve.
Experiment with different angles and perspectives. A three-quarter view often presents a more dynamic look than a straight-on pose. Remember to maintain balance; even exaggerated poses should feel grounded.
Use the 9-head proportions as a guide, but don’t be afraid to subtly adjust them to enhance the pose’s impact. Practice sketching quick gesture drawings to capture movement and fluidity.
Observe real-life poses for inspiration and reference.
Adapting the Croquis
The 9-head croquis is a starting point; adjust proportions to reflect diverse body types and target demographics for realistic and inclusive fashion illustration.
Evolving beyond the standard model allows for greater creativity and representation in your fashion design work and sketches.
Adjusting for Different Body Types
The standardized 9-head croquis, while useful, doesn’t represent the beautiful diversity of human forms. Truly effective fashion illustration requires adapting this base to accurately portray various body types, ensuring inclusivity and realistic garment visualization.
Begin by consciously altering the torso length – a longer torso might necessitate reducing leg length proportionally, while a shorter torso demands the opposite adjustment. Similarly, hip width can be broadened or narrowed, influencing the overall silhouette.
Consider shoulder width; wider shoulders create a more athletic build, while narrower shoulders suggest a more delicate frame. Don’t be afraid to experiment with curves and angles, softening or exaggerating features to reflect different body shapes.
Remember, the goal isn’t to rigidly adhere to the 9-head rule, but to use it as a flexible foundation. Embrace asymmetry and individual characteristics to create figures that feel authentic and representative. This approach allows you to design for real people, not just an idealized standard.
Evolving Beyond the Standard 9-Head
The 9-head proportion serves as a fantastic starting point, but limiting oneself to this single standard stifles creativity and inclusivity in fashion illustration. Modern designers and illustrators are increasingly moving beyond this convention, embracing a wider range of proportions to reflect the diversity of the fashion world.
Experiment with 8-head, 10-head, or even 12-head croquis to explore different stylistic effects. Consider the target demographic – a brand catering to petite figures will benefit from a proportionally different croquis than one designing for taller clients.
Don’t hesitate to introduce curves, asymmetry, and unique body shapes. The key is to prioritize accurately representing the garment on a figure that feels authentic and relatable.
Ultimately, the croquis is a tool, and like any tool, it should be adapted to suit the artist’s vision and the needs of the design. Break the rules, challenge conventions, and develop a personal style that reflects your unique perspective.
Resources and Further Learning
Expand your skills with online tutorials and courses dedicated to fashion sketching techniques. Explore various sketching tools – from traditional pencils to digital art programs – to refine your craft.
Numerous platforms offer comprehensive guidance, empowering you to master the 9-head figure and beyond, fostering artistic growth.
Online Tutorials and Courses
Numerous online platforms offer structured learning experiences for aspiring fashion illustrators. Websites like Skillshare and Udemy host courses specifically focused on drawing the 9-head fashion figure, catering to various skill levels – from complete beginners to those seeking refinement.
These courses often break down the complex process into manageable steps, providing video demonstrations, downloadable resources, and opportunities for practice. YouTube is also a valuable resource, brimming with free tutorials from experienced artists sharing their techniques.
Look for channels that demonstrate the construction of the croquis, proportioning, and adding dynamic poses. Consider exploring platforms dedicated to fashion design, as they frequently include sketching modules. Investing in a structured course can accelerate your learning and provide personalized feedback, while free tutorials offer accessible starting points for self-study.
Remember to supplement your learning with consistent practice and observation of fashion imagery.
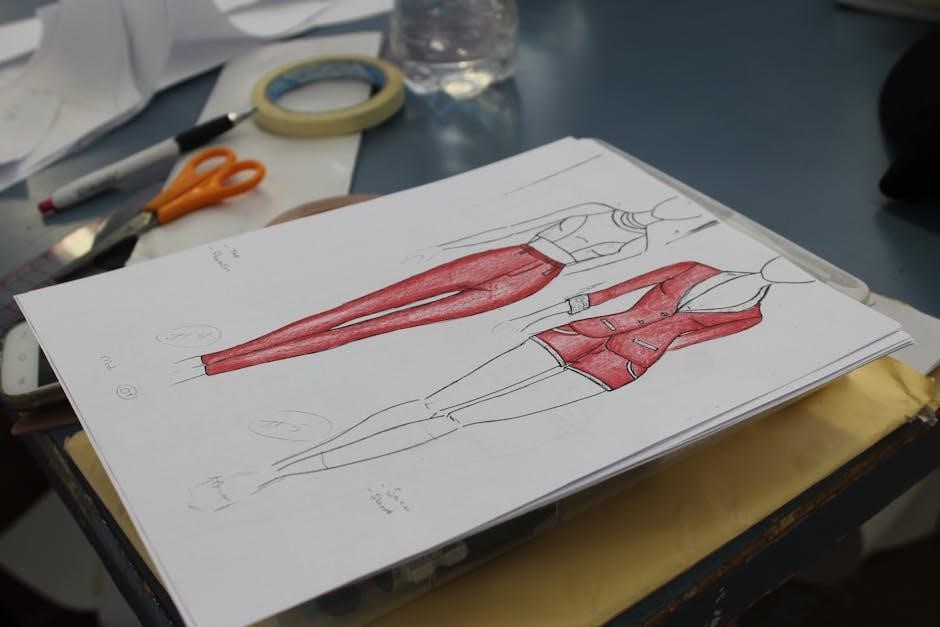
Recommended Sketching Tools
For beginners, a simple set of tools is sufficient to start mastering the 9-head figure. A smooth drawing paper, such as Bristol board, provides a clean surface for detailed work. A range of graphite pencils – from 2H for light sketching to 2B or 4B for darker lines – allows for varied shading and definition.
A kneaded eraser is invaluable for lifting graphite without damaging the paper, enabling corrections and highlights. Many artists also prefer using a fine-liner pen (0.1mm or 0.3mm) for crisp, precise outlines.
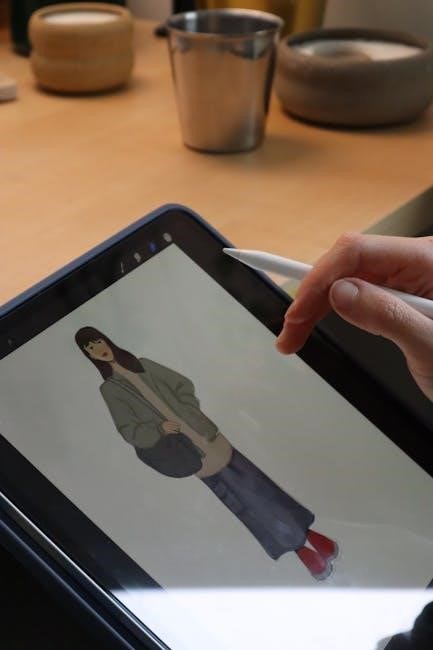
As you progress, consider adding colored pencils, markers, or watercolors to bring your fashion sketches to life. Digital tools, like an iPad with a stylus and Procreate, offer versatility and portability. Ultimately, the best tools are those you feel most comfortable and confident using, allowing your creativity to flow freely.